I’m going through another film phase it seems. It was probably spawned by the recent news that Kodak will be emerging from bankruptcy protection in September as only a fraction of its former self, sans its film and paper division. So, get your Kodak film that’s actually made by Kodak while supplies last.
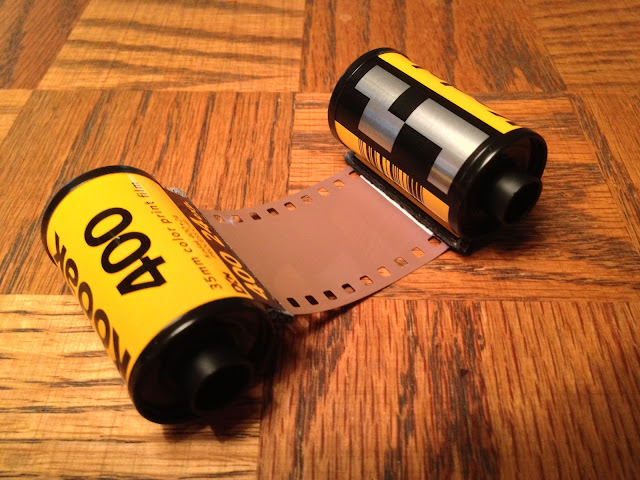
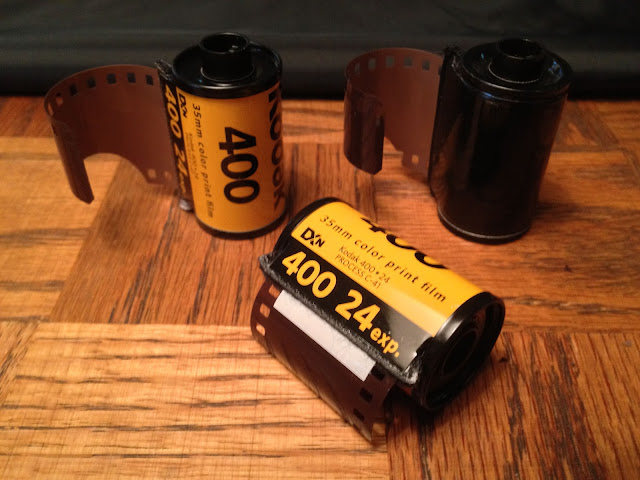
Speaking of film, I found two rolls of very expired Kodak Gold 400, which is perfect for making redscale film. So, I decided to respool them using my favorite technique.
The process begins with a reusable magazine, but with this technique, once you’ve completed your first roll, you get a donor magazine for the second that doesn’t have to be returned by the processor. Always a concern with home-rolled film.
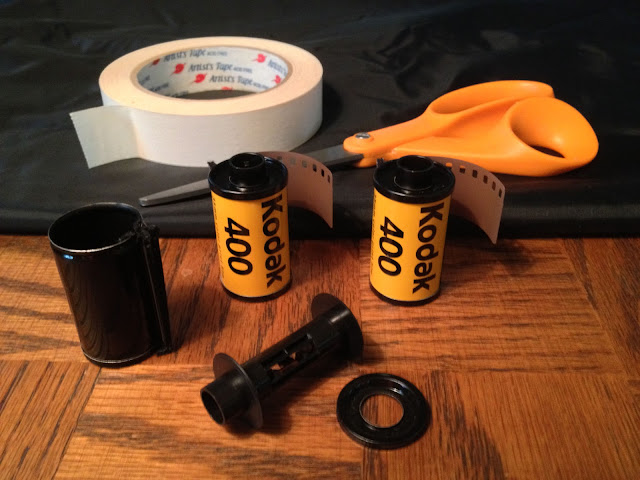 |
| Rolling Redscale is easy! All you need to get you started are two rolls of reasonably fast negative film, a reusable film cassette, scissors, acid-free tape, and a changing bag (or, a really dark room.) |
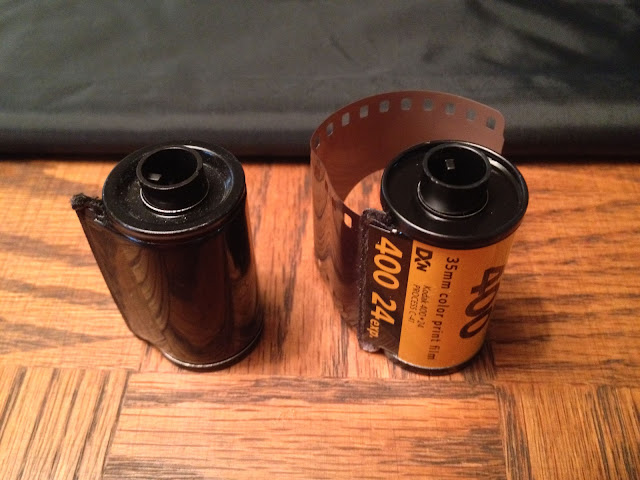 |
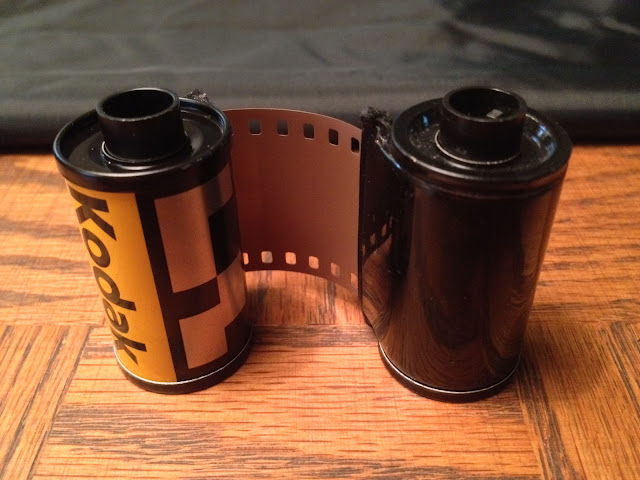
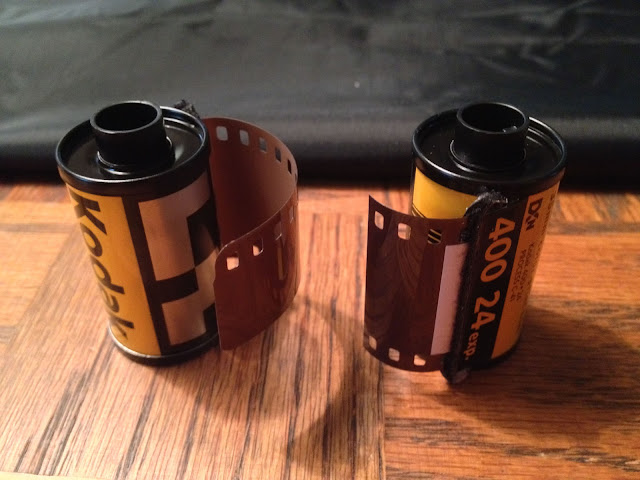
| This is what the reusable film cassette looks like next to a commercially-loaded cassette. Note the orientation with the protruding spool end up. |
 |
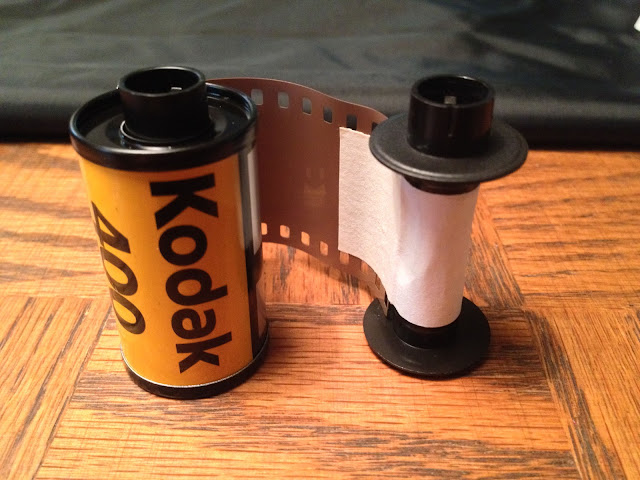
| Detach the end of the reusable cassette and remove the spool. Again note that it’s oriented the same as the donor roll. |
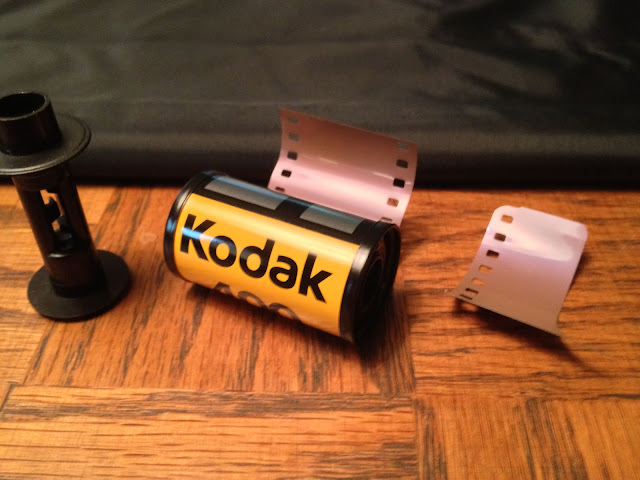 |
| Next, trim off the leader from the donor roll, and save it for future reference. Pull out as little film from the donor cassette as you can. |
 |
| With the rolls oriented the same way, attach the square end of the film to the empty spool with acid-free masking tape. Cut the tape about 1/4" longer than spool, wrap the tape all the way around it, and sandwich the film between the tape on both sides to be safe. |
 |
| Reassemble the reusable cassette so that the emulsion faces the outside instead of the inside as it is on the donor roll. |
 |
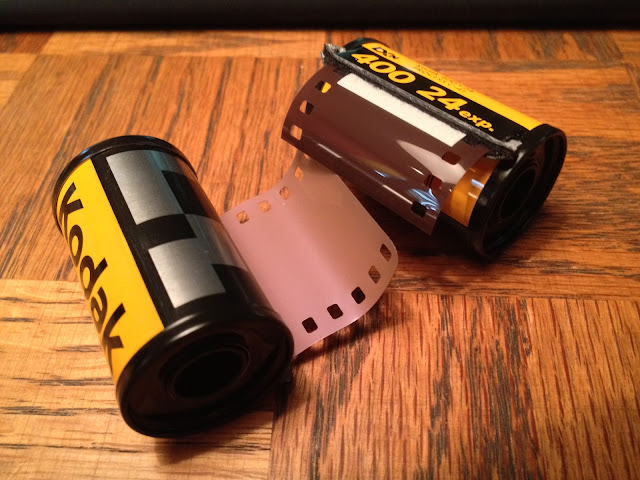
| You’ll note that the two cassettes are actually oriented exactly the same way, but rotated about 90° from one another (due to the curl of the film). |
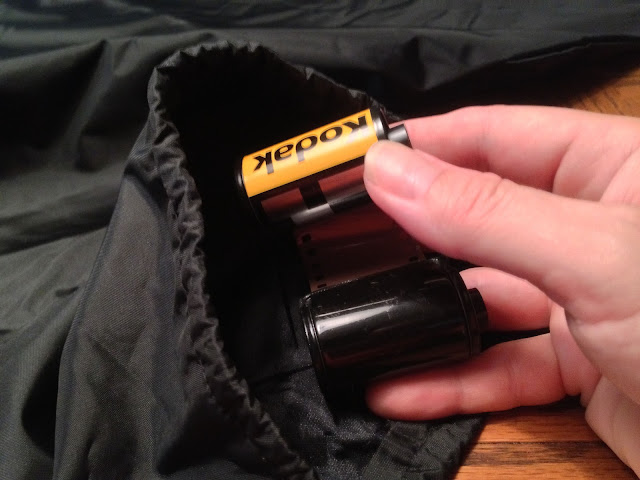 |
| Time for the changing bag. You can also do this in a completely dark room or under several layers of heavy blankets. Because the film is wound directly from one cassette to the other, dust shouldn’t be too much of a problem. |
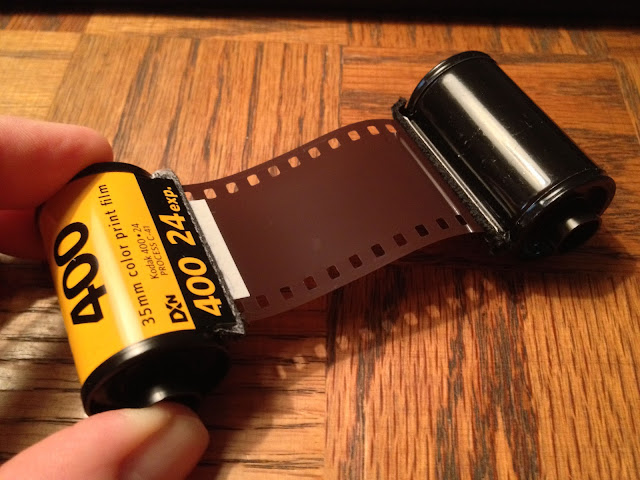 |
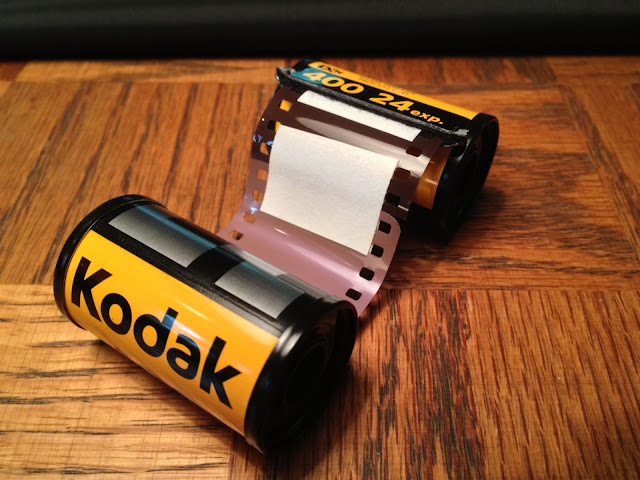
| Once you’ve finished winding the film to the new spool, remove everything from the changing bag. This is what you’ll find; the end of the donor roll, with a small piece of tape where the film is attached to the spool. Now, trim the film so that there’s about 3/4" still left on the donor roll. |
 |
| All that’s left to do now is trim the leader as shown, and you have your first roll of redscale. You can use the piece you trimmed off as a template, but after a while cutting these becomes second nature. |
 |
| But from now on, it gets a little easier. Each time you roll a new one, you’ll have a disposable donor cassette that you don’t have to request back from the developer. |
 |
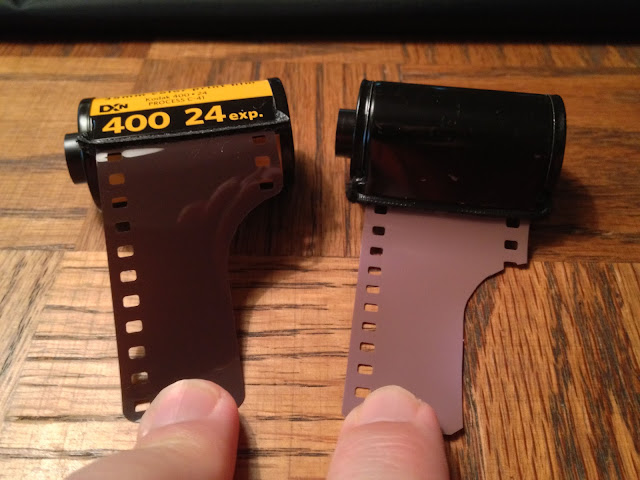
| You simply trim the leader off the new donor roll and attach it to the “tail” of the old donor roll with two small pieces of acid-free masking tape. It’s even easier now to see that the emulsion side is reversed. |
 |
| Again, try not to pull out too much film but if the film has already been pulled out, it’s a moot point. If you’re working with a virgin roll, you have a little more assurance that the film still in the cassette is unexposed. |
 |
| ...you still have to use the changing bag... |
 |
| Wash, rinse, repeat… |
 |
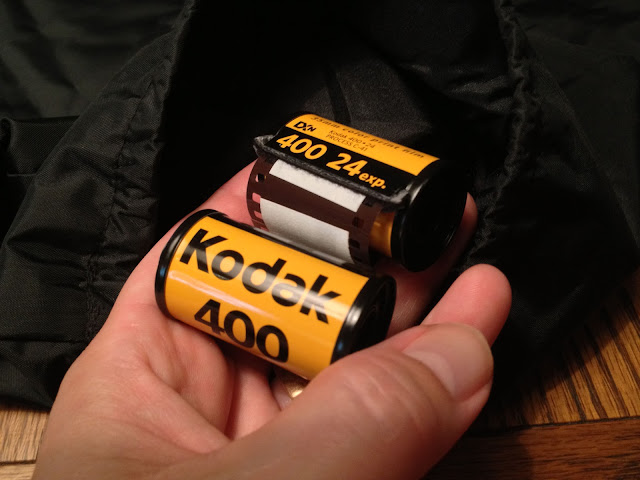
| You now have your second roll of red scale, and a new donor cassette. Keep it handy for next time. |
Now, go shoot some redscale. But before you do, here’s a few things to keep in mind…
Rate your film one stop slower because the light has to pass through the anti-halation backing first, reducing the exposure by about a stop. So, if you use ISO 400 film, rate it at ISO 200. ISO 800 film is readily available, and becomes ISO 400 which is very versatile. Avoid ISO 100 if you can, unless you plan on shooting expressly in bright sun.
Set ISO manually if you can, because some cameras sense the bare metal areas on the film cassettes and set the ISO automatically, which may not be what you want. If you can’t set ISO manually, set the exposure compensation to +1.
Bracket exposures to get different color interpretations.
Use filters for different effects, especially green filters. You can sometimes get an X-Pro effect with this technique.
Process your film normally and keep in mind that C-41 is normalized process, so it doesn’t matter whether the film emulsion matches what’s printed on the outside of the cassette, as long as it’s all C-41 process.
But most of all have fun and enjoy a unique photographic experience that you simply can’t get with a digital camera.


No comments:
Post a Comment